
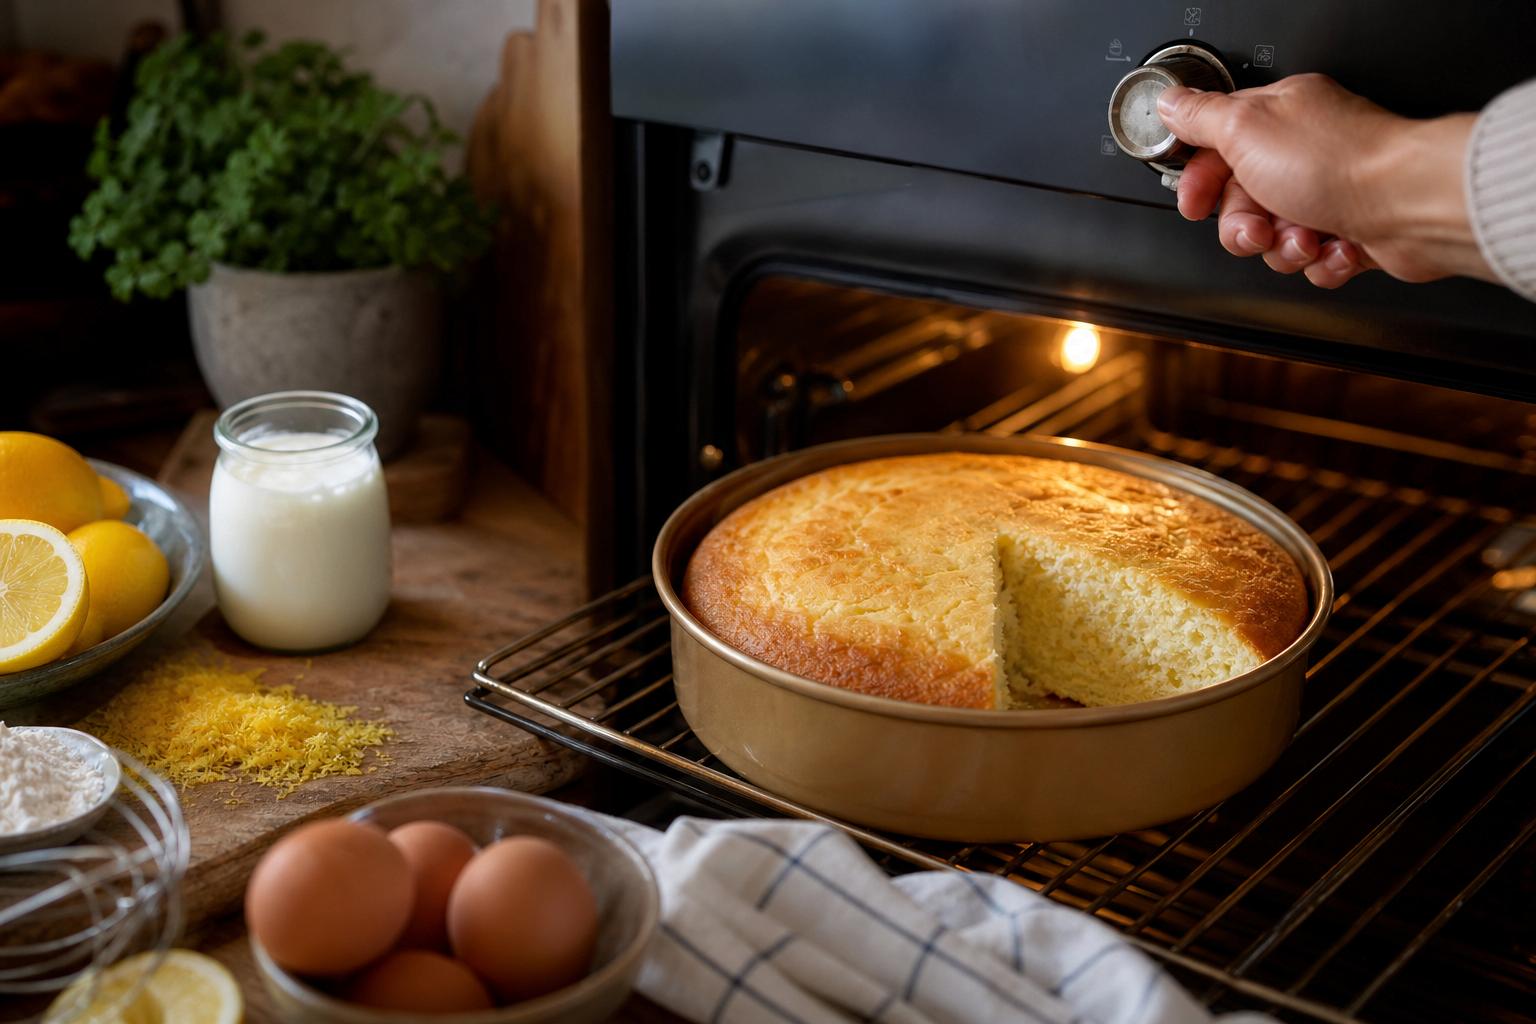
A yogurt cake can easily lose its moistness in the oven, even with a trusted family recipe.
This everyday dessert remains one of the simplest to prepare, as the yogurt pot serves as a measuring cup, taking the guesswork out of baking. However, many cakes come out too dry around the edges, with a dense crumb or a browned top while the center remains undercooked. The key to a successful cake does not lie in a rare ingredient, but rather in how you manage the oven temperature.
A two-phase baking process to keep the crumb tender
The concept is to start with a hot oven and then lower the temperature once the cake begins to rise. The initial phase allows the cake to gain volume, while the second phase helps the center cook through without drying out the surface.
Baking the cake at 180 °C and then reducing the temperature to between 160 and 165 °C results in a fine crust and a soft crumb.
This method is particularly effective for thick batters that are rich in flour and eggs. Keeping the temperature high for the entire baking time causes the exterior to cook too quickly, forming a thick crust that hardens before the heat reaches the center. By adjusting the temperature at the right time, you slow down the browning process and help maintain moisture throughout the batter.
The temperature shift should occur after 15 to 20 minutes, depending on your oven’s true capacity and the size of the pan. The top will have taken on a light golden color. The cake will start to rise, and its surface will become more stable.
Classic proportions using the yogurt pot
The basic recipe requires only a few common ingredients. Plain yogurt adds moisture and a slight acidity, which is essential for a pleasant texture. Oil, often preferred over butter in this cake, also helps keep the crumb tender in the following days.
- 1 pot of plain yogurt;
- 2 pots of sugar;
- 3 pots of flour;
- half a pot of neutral oil;
- 2 or 3 eggs, depending on their size;
- 1 packet of baking powder;
- a hint of vanilla, lemon zest, or orange blossom according to your taste.
A medium-sized round pan is ideal for these quantities. A pan that is too large will spread the batter and shorten cooking time, resulting in a less thick cake. Conversely, a smaller pan will produce a taller cake that requires a few additional minutes at a lower temperature.
The preparation also requires some restraint
Success doesn’t depend solely on the oven. How you mix the ingredients is equally important. It’s best to take the eggs and yogurt out ahead of time so they’re not cold. A batter made from room temperature ingredients bakes more evenly.
Steps to follow before baking
Overmixing is a common mistake. Working the flour too long develops gluten, which gives elasticity to bread but can make a cake firmer and less tender. A spatula or hand whisk is perfectly sufficient for the final mixing steps.
To maintain a light texture, mix only until you achieve a smooth batter; just a few extra seconds can make a noticeable difference in texture after baking.
When to reduce the temperature
There isn’t a universal time for this, as ovens can vary in the actual temperature they produce. A fan oven may cook more quickly than a conventional model, so it’s important to keep an eye on things.
After the first 15 minutes, check the cake through the oven window without opening the door. If it has risen, the top is golden, and the edges are just starting to pull away from the pan, lower the temperature to 160 or 165 °C. Avoid opening the door too soon, as a rush of cold air can cause a fragile cake to collapse.
Baking usually continues for an additional 15 to 25 minutes. A thin skewer inserted near the center should come out with a few moist crumbs. If it is completely liquid, the cake is undercooked. If it comes out perfectly dry and hot, it may have been in the oven too long.
The resting period makes a difference
Once the cake is out of the oven, it continues to stabilize. Removing it too soon can lead to breakage, especially if it’s very tender. Let it rest in the pan for about ten minutes, then transfer it to a wire rack. Allowing air to circulate underneath prevents excess steam from making the base too soft.
Once it’s cool enough, it can be covered with a clean cloth or placed in an airtight container. Avoid refrigeration for short-term storage, as cold will firm up the fats and may give the impression of a dry cake, even if the recipe was followed correctly.
Best storage practices
- Keep the cake at room temperature;
- Wait until it is almost cool before sealing it in a container;
- Avoid placing it in sunny spots or near a radiator;
- Ideally consume within three days;
- Only cut out the portions needed to preserve the rest of the crumb.
Variations that follow the same baking principle
Plain yogurt can be substituted with stirred yogurt for a slightly denser batter, or Greek yogurt for a creamier texture. In this case, you might not want to increase the amount of oil, as it already contributes more fat.
Citrus zests, diced apples, pears, chocolate chips, or some raspberries are excellent additions. For very juicy fruits, lightly dust the pieces with flour before incorporating them; this helps prevent them from sinking to the bottom and releasing too much moisture into the batter.
For a simple afternoon snack, a warm slice pairs wonderfully with unsweetened applesauce or a drizzle of honey. The next day, a quick refresh in a gentle oven at around 120 °C for about five minutes can restore some of its moisture without actually continuing the baking process.
This small adjustment of the thermostat is not complicated. It merely requires watching the first few minutes and then allowing the gentler heat to finish cooking the cake. This often makes the difference between an acceptable bake and a delightful cake that you want to serve again and again.