
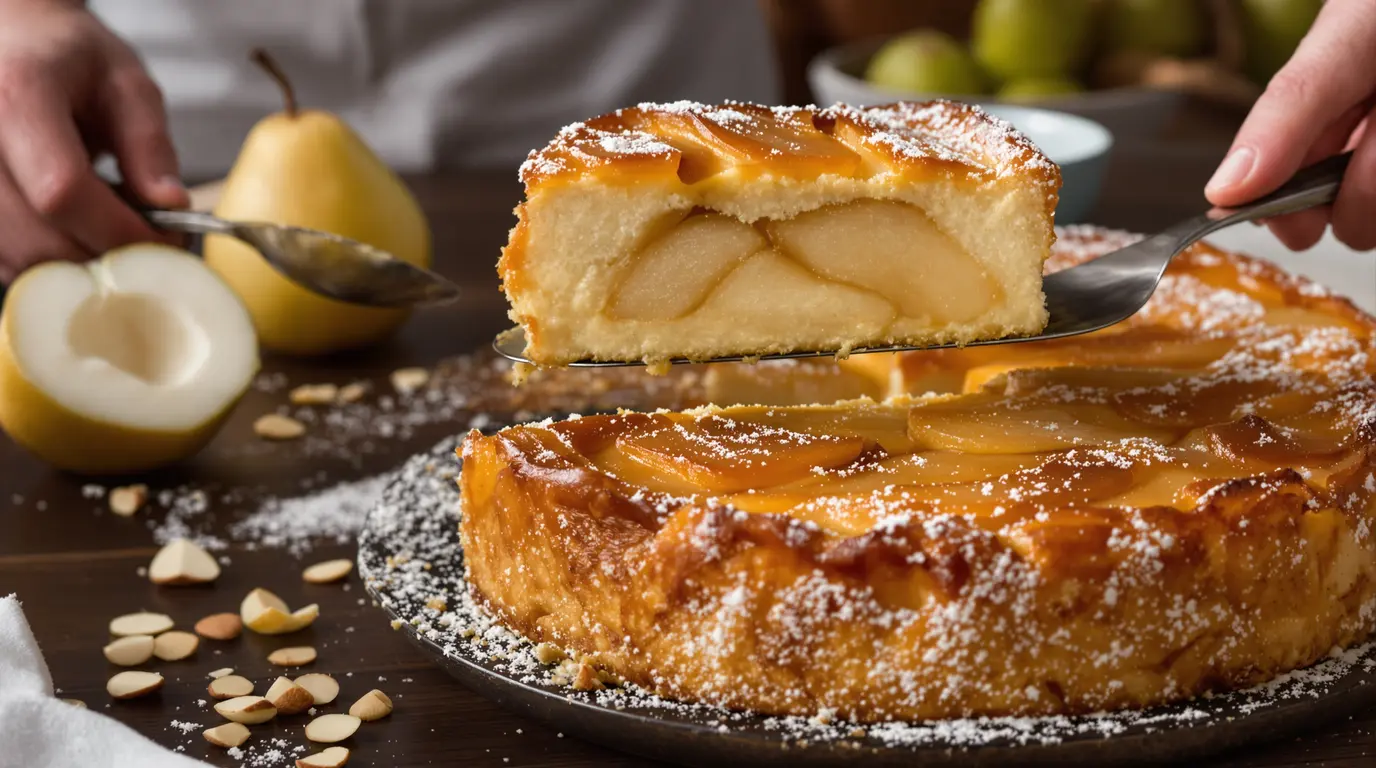
Some desserts stand out and leave a lasting impression. The pear fondant is one such creation. With its first bite, you experience the tender dough, soft fruit, and a perfectly crisp golden crust.
What’s remarkable is its elegant appearance despite its simplicity. You don’t need to be a pastry chef to master it. With a few ripe pears and careful baking, you can create a delightful and truly memorable dessert.
Why this pear fondant is so popular
This cake features a delightful combination of three textures. You have the lightness of the batter, poached pears that melt almost like compote, and a delicate golden topping that offers a lovely contrast.
This contrast makes all the difference. A dry dessert can quickly become tiresome, while a heavy one can be overwhelming. Here, everything is balanced. It’s soft and melt-in-your-mouth tender, yet sturdy enough to be sliced into perfect portions.
It also has another advantage. The ingredients are incredibly straightforward. However, when served, it feels like a dish that required much more effort. That’s precisely what we love about a good homemade recipe.
Ingredients for a 22 to 24 cm pan
To create this pear dessert, gather:
- 3 medium eggs
- 100 g of sugar for the batter
- 150 g of all-purpose flour
- 1 packet of baking powder (10 to 11 g)
- 1 pinch of salt
- 100 ml of milk
- 3 tablespoons of neutral oil, such as sunflower oil
- 5 to 6 ripe but firm pears
- 1 teaspoon of vanilla extract, optional
- 80 g of butter for glazing
- 1 egg for glazing
- 3 tablespoons of sugar for glazing
If your pears are quite small, use six; if large, five may be sufficient. The goal is to have enough fruit for a generously soft center.
Choosing and preparing pears
It all begins with the fruit. Opt for fragrant pears that yield slightly to pressure but are not mushy. This is essential. If they are too firm, they will remain crunchy, and if overly ripe, they will break down and release excess moisture.
Peel, core, and slice them thinly, aiming for about 3 to 4 mm. This thinness allows the slices to integrate better into the batter, contributing to that lovely melting texture in the center.
A helpful tip: if your pears are very juicy, lay them on paper towels for a few minutes to avoid an overly wet cake.
Preparing the batter easily
Preheat your oven to 180 °C with conventional heat. Grease and flour your baking pan, remembering to cover the sides as well -an easy step that can prevent a beautiful cake from sticking.
In a large bowl, whisk together the 3 eggs, 100 g of sugar, and a pinch of salt until the mixture lightens. Gradually add 150 g of flour and a packet of baking powder, ideally sifted, and mix gently.
Next, incorporate 100 ml of milk and 3 tablespoons of neutral oil. Add vanilla if desired for that lovely sweet note. The batter should be soft, smooth, and easy to spread. If it seems a bit thick, that’s perfectly fine; it should support the pears without drowning them.
Assembling for a melting center
Pour half of the batter into the pan. Spread a first layer of pears over it. Then cover with the remaining batter and place the rest of the pears on top, arranging them beautifully for an elegant finish.
Bake for an initial 15 minutes. At this stage, the cake will rise, and the edges will start to set while the center remains soft, which is just what you want.
While it bakes, prepare the glaze by melting 80 g of butter. In a separate bowl, whisk together 1 egg and 3 tablespoons of sugar until slightly paler. Then add the warm butter and mix well.
Tip for a golden crust and moist center
After the first 15 minutes, remove the cake from the oven. Gently pour the butter glaze over the entire surface, spreading it lightly with the back of a spoon if necessary. This step is key for creating that golden crust.
Return to the oven for an additional 10 to 15 minutes. The top should become nicely colored and a touch crispy, while the center remains slightly moist, ensuring that lovely fondant quality.
To check, insert a knife blade into the edge; it should come out nearly clean. The center may retain some moisture, which is perfect since a completely dry cake would lose that delightful texture.
How to serve it for maximum impact
Serve this cake warm if you enjoy indulgent desserts. At this temperature, the pears are softer, and the crumb is more luscious. A scoop of vanilla ice cream or a touch of custard makes for an irresistible hot-cold contrast.
If you prefer cleaner slices, let it cool for 15 to 20 minutes before cutting. Chilled, it will hold its shape better and the flavors will be more distinct. A light dusting of powdered sugar can give it a chic finish.
For an elegant dinner, consider adding some toasted almond slices on top. It’s simple yet stunning, and that little crunch always impresses at the table.
Easy variations to try
This recipe is adaptable, making it one of its best features.
- Add 1 teaspoon of cinnamon to the batter for a warmer note.
- Incorporate 1 tablespoon of dark rum into the glaze for deeper flavor.
- Add dark chocolate chips to the batter for an extra indulgent touch.
- Substitute the milk with 100 ml of neutral plant-based milk, such as soy or almond.
- Use a plant-based margarine designed for baking in place of butter for a dairy-free version.
You can also mix pears with apples for a slightly rustic but delicious result, perfect if you enjoy heartier fruit desserts.
Storage and useful tips
This pear fondant will keep for 1 to 2 days at room temperature in an airtight container. If it lasts longer, store it in the refrigerator. Remember to take it out 30 minutes before serving to regain its softness.
One last simple tip: avoid cutting it too soon. Allowing it to rest helps the texture settle and can prevent overly crumbly slices. Trust us, this cake is best when given a moment to stand.
If you are seeking a show-stopping dessert that doesn’t complicate your cooking process, this one deserves a spot in your recipe collection. It is sweet, elegant, and generous. Once you serve it for the first time, you will surely be asked to make it again!